|
|
Post by WettCoast on Oct 22, 2008 22:49:27 GMT -8
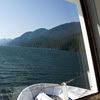
I have returned to the soggy north coast following 10 days of driving, visiting, watching my son run, and riding and photographing many ferries. My next fix - some time in the new year. Tonight I have some photos from my trip home on the QPR. Crew members tell me that she has been sold - to China, and will be history to our coast within six months. Some insisted that this was more than just rumour... Anyways, the photos... 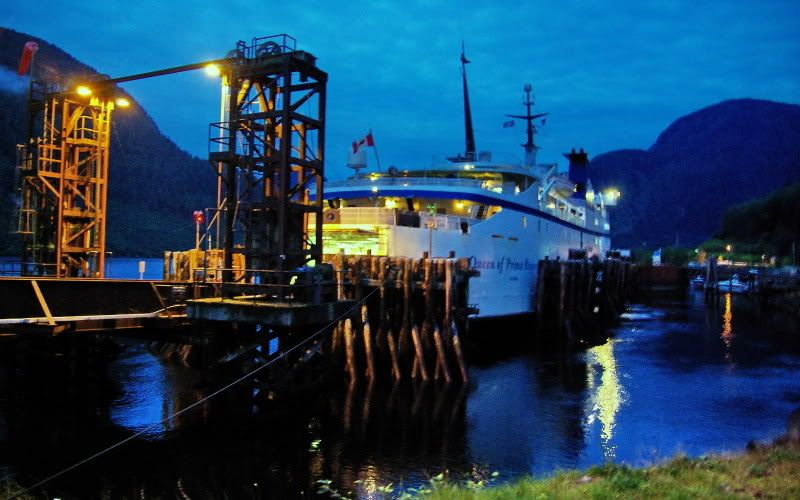 @ Ocean Falls - 8:00 am, 19 Oct 2008. The trip into this one time pulp mill town adds about 4 hours to the trip. The current population there is about 100. One vehicle & driver got off, nothing got back on except me and a few crew members. 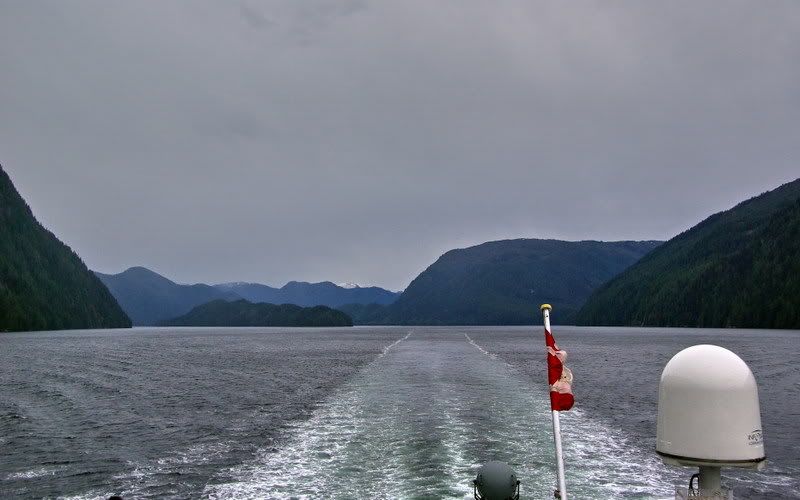 Inside Passge view south from stern of QPR - Work Island at L background  Exterior view & life boat - Fraser Reach, Inside Passage 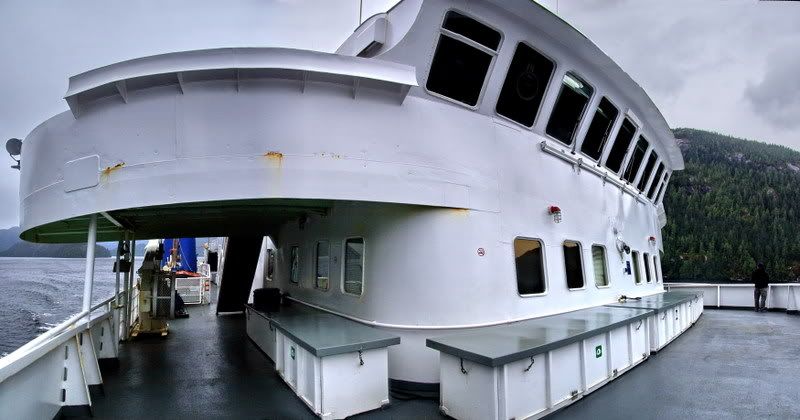 QPR QPR Wheelhouse area All photos taken on 19 Oct 2008 - by JST ©More to come... |
|
|
|
Post by WettCoast on Oct 23, 2008 20:32:33 GMT -8
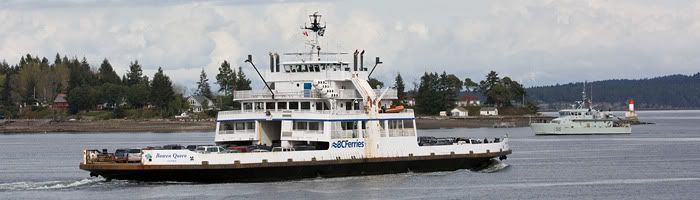
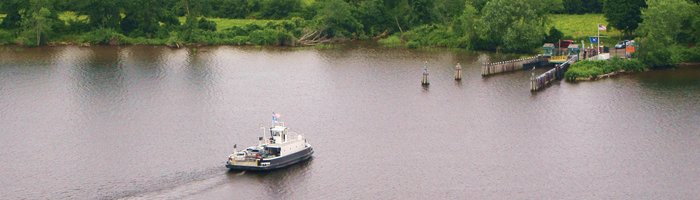
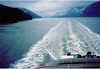
More from my trip last weekend on the QPR... The journey began at Bear Cove Terminal, Port Hardy, Saturday evening at 9:00 pm, and ended exactly 24 later in Prince Rupert. My only chance to get an exterior picture of the whole ship was to get off during the very brief stop at Ocean Falls. The crew was not overly keen on me doing that, but in the end permitted me about 5 min ashore. It was also about 7:50 am Sunday morning and not really light out yet. The only other stop was earlier at 4:00 am at McLaughlin Bay, Bella Bella. They must have cut the maintenance during the QPR's last refit to the bare minimum. The decks are now looking as sorry as some of the V's, with holes showing in the cement deck coatings, and lots of rust. Rust stains on the ship don't start showing up 'in earnest' until the ship has spent a few months running Hecate Strait and Queen Charlotte Sound under fall & winter weather conditions. It is very unlikely that I will ever ride the QPR again. It has been a great 33 years for my acquaintance with her, having first traveled on her in August of 1975. I will miss her forward facing cafeteria, perhaps the best place to eat on the entire BC coast (even if the food is not quite the best). I will also miss that outside deck space just below the wheelhouse, and above the bow. That is a fine place to feel the wind in your face. Unfortunately the Northern Expedition is not blessed with such a place - too bad. More photos... 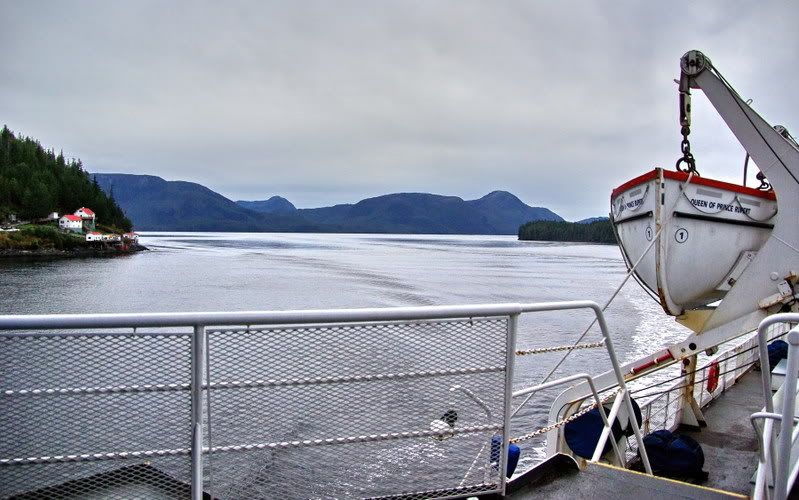 QPR QPR view in Inside Passage @ Boat Bluff Light Station 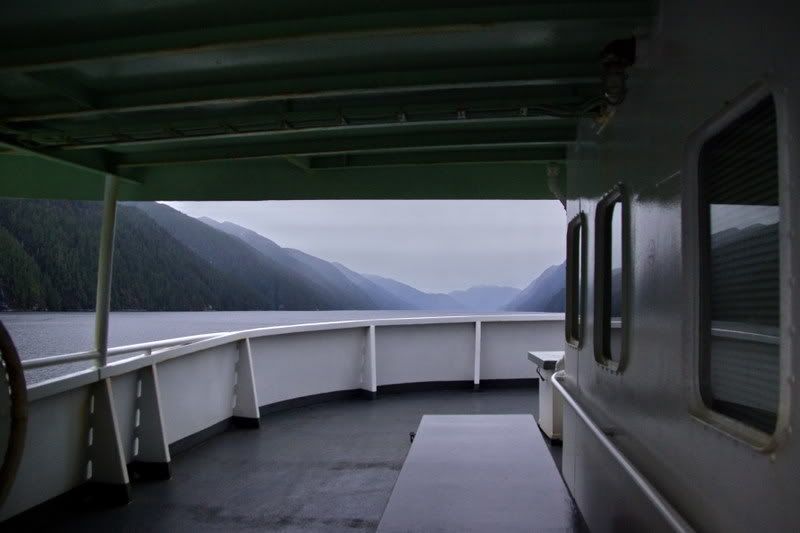 Exterior view near bow, Princess Royal Channel 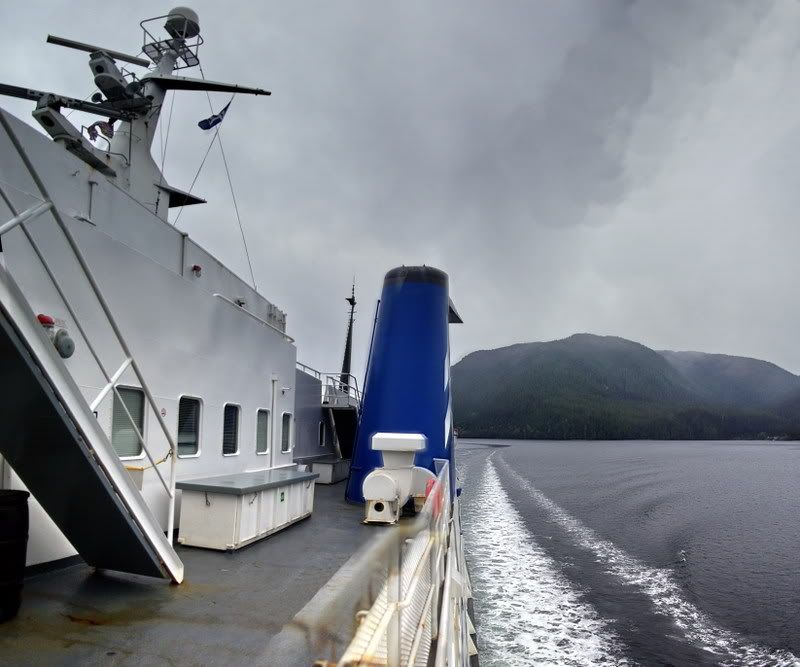 Exterior view in Fraser Reach, Inside Passage 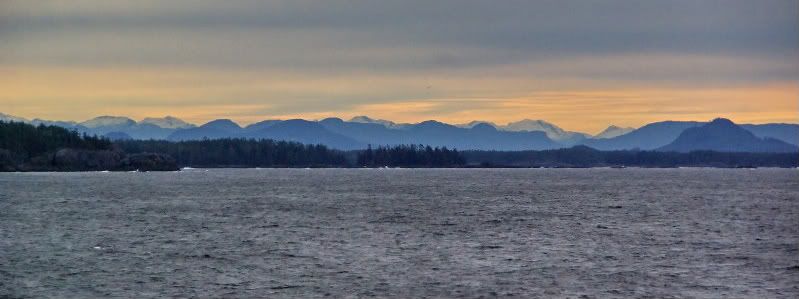 Milbanke Sound from QPR - 19 Oct 2008 |
|
|
|
Post by lpoole on Oct 23, 2008 21:38:10 GMT -8
Hey, do you have any interior pictures of the QPR?  |
|
|
|
Post by WettCoast on Nov 1, 2008 7:18:35 GMT -8
I have only a few interior pics of the QPR. Some members here have quite extensive collections. Karl, I think, is an example. Perhaps he, and/or others, could post links to their QPR collections. Here is a link to my collection on photobucket of mostly exterior QPR stuff, some of it from way back when... s90.photobucket.com/albums/k268/wetcoastkidjst/Queen%20of%20Prince%20Rupert/ |
|
|
|
Post by WettCoast on Nov 1, 2008 7:43:34 GMT -8
On my recent visit south I managed to see and photograph all three Coast Boats, and ride on one of them. Here are some pics... First, the Coastal Renaissance @ Horseshoe Bay - 11 October 2008 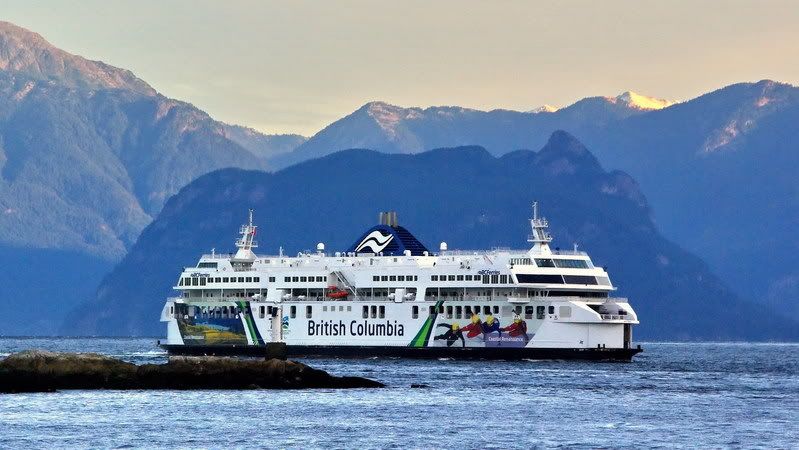 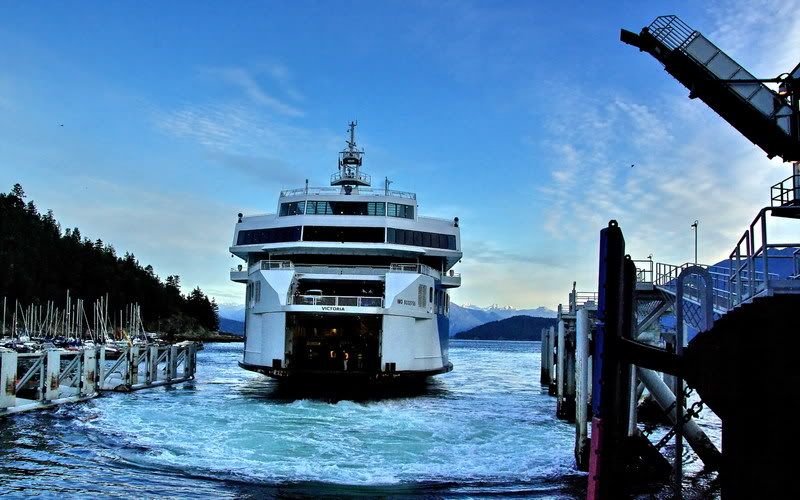 BTW, I noticed that the problem we discussed back in March re the coarse outside stair grating on the Renaissance (and other Coastals, I assume) has been fixed. Perhaps they are listening to us... Two shots of the C Inspiration at or near Tsawwassen, 12 Oct. ... 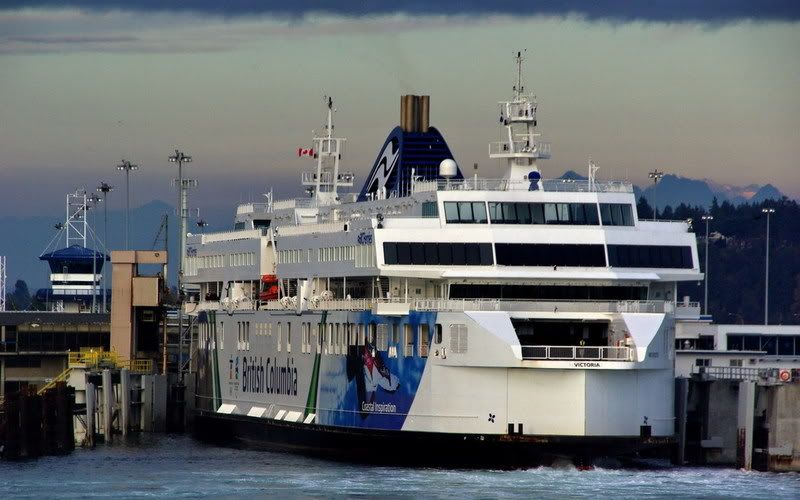 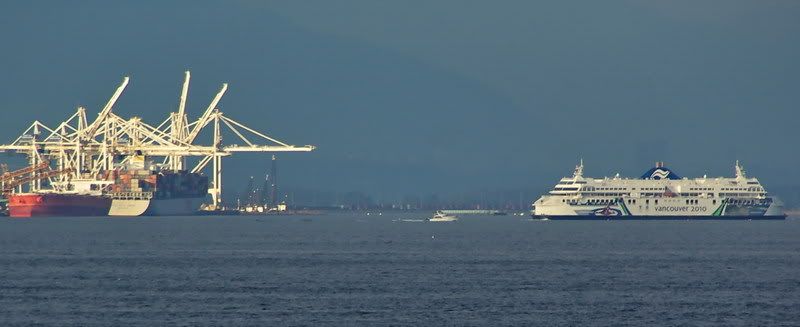 And finally the C Celebration at or near Swartz Bay on Oct 12 & 15... 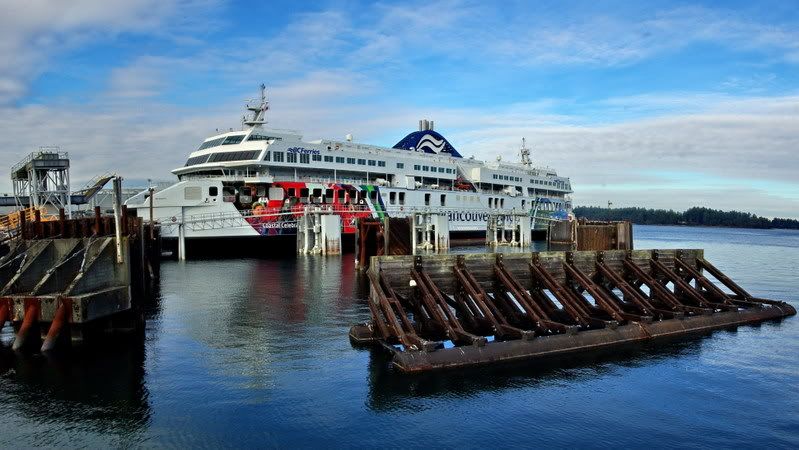 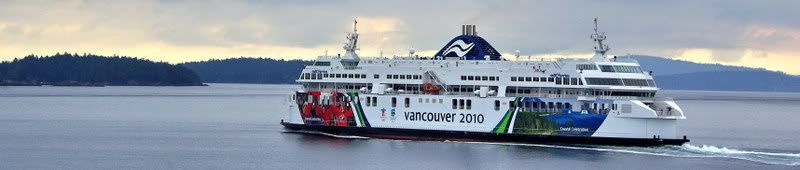 All photos © JST Oct 2008 All photos © JST Oct 2008 |
|
|
|
Post by WettCoast on Nov 1, 2008 17:49:30 GMT -8
On the afternoon of Sunday October 12th, we were aboard the Saanich and met the Nanaimo coming out of Village Bay. We followed her through Active Pass to where she went off to pick up Galiano traffic from Sturdies Bay. The following photos were taken by me as I hung around the bow end of the Saanich not far behind the Nanny. 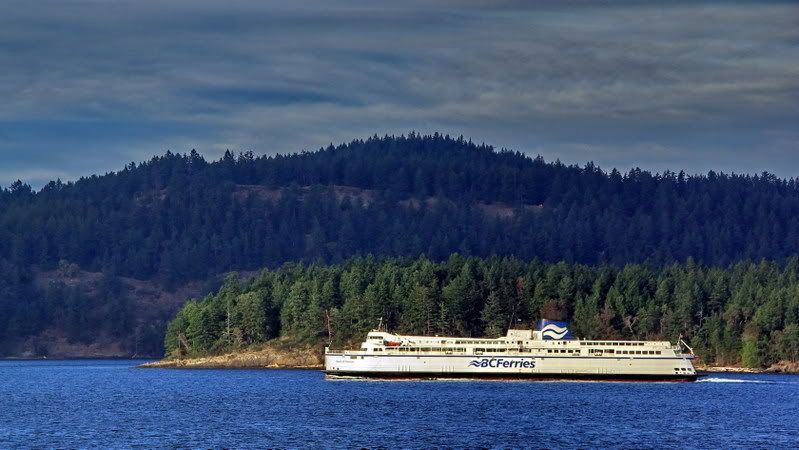 @ Helen Point entrance to Active Pass 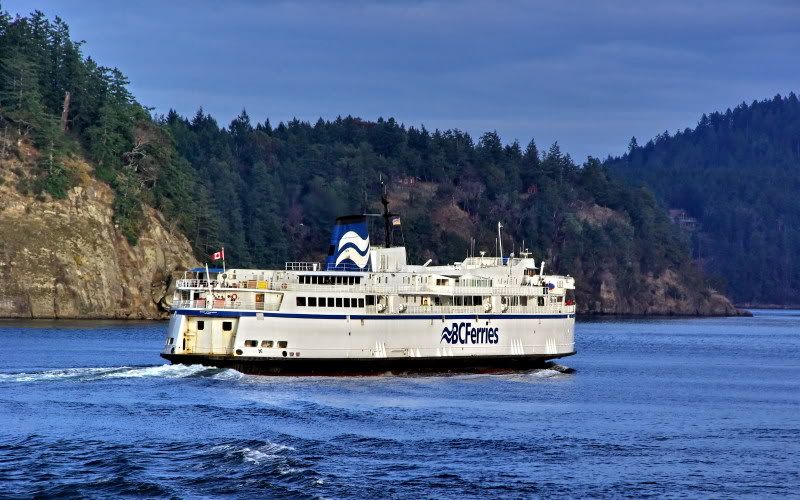 In Active Pass 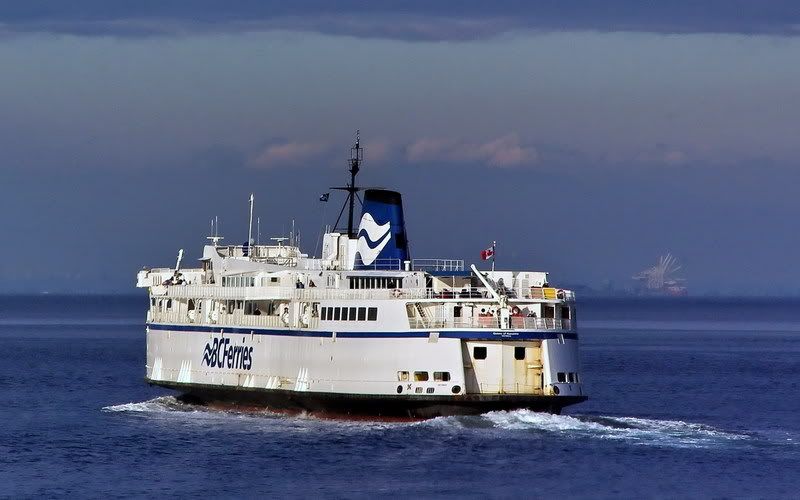 Just outside the north east entrance to Active Pass 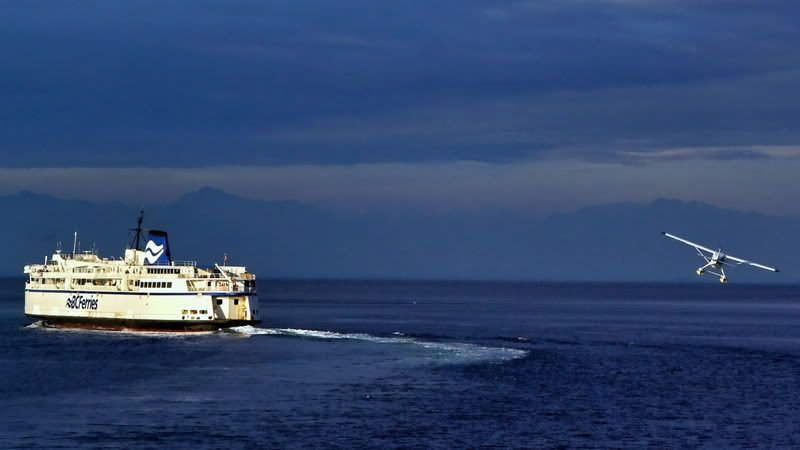 Just as the Nanny begins her swing into Sturdies Bay this plane comes out of no where. I have a hunch that Karl was piloting it and was determined to get better pics of the Nanny than me. Actually the plane was taking off from Miners Bay in Active Pass. 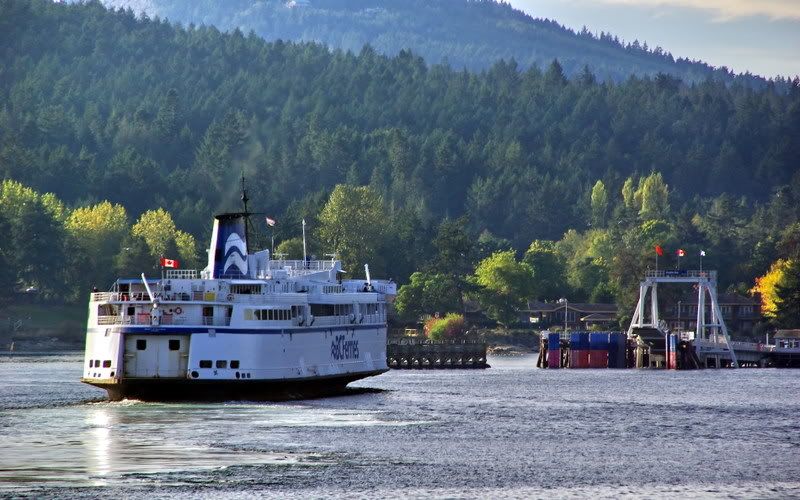 Sturdies Bay looking good with fall colour. All photos © by JST |
|
|
|
Post by Canucks on Nov 1, 2008 17:53:08 GMT -8
Very nice photos WCK. I like how they contrast well, the dark sky against the white ferry. What kind of camera/technique do you use?, your shots always seem to make the colour pop out.
|
|
D'Elete BC in NJ
Voyager  Dispensing gallons of useless information daily...
Posts: 1,671
|
Post by D'Elete BC in NJ on Nov 3, 2008 7:18:04 GMT -8
Very nice photos WCK. I like how they contrast well, the dark sky against the white ferry. What kind of camera/technique do you use?, your shots always seem to make the colour pop out. I can't speak for how much post picture taking processing WCK does and how much is scene composition, but a couple of tricks up my sleeve are to tweak the saturation up a bit, and sharpen the image ever so slightly. Tweaking the exposure down a little can effectively deepen colours too, though you can overdo the shadows if you move it down too far. Personally, I shoot everything in RAW format, do most of my editing in RAW and then convert it to JPEG. I like to work in Photoshop or GIMP, but for the time being much of my editing is done in the propriety software that came with my camera as I haven't found an importer for that works properly for Sony's .ARW RAW format files yet. I use the channel controls a lot to tweak the shadows and highlights on the brightness once I've got the overall brightness about right. My software has an in-picture threshold indicator so I can adjust pretty well for over and underexposed regions. I do miss the ability to mask certain areas, blend and some other miscellaneous tools Photoshop has, so once I'm done the bulk editing, I work on the jpeg with it. If you have the option of adding filters, a Sky 1A filter, or Haze 1 or 2A is good for some haze reduction (it's good to note...if you can see the haze, this filter isn't going to make a big difference; if you don't remember the haze and you see it in your pics, then this filter will have help) and to protect your lens. I also use a polarizing filter on all my lenses, especially for on-the-water shots as you can use it to remove unwanted reflections and add some contrast. I've tried warming filters too, but I can edit that type of effect into my pictures later, so I haven't been using them on my digital camera. I have also considered using contrast filters, but I need to investigate this a little more and ask a few questions before I spend the money on them. |
|
|
|
Post by WettCoast on Nov 3, 2008 21:07:48 GMT -8
In the digital age, as it was back in the chemical age, editing and creativity can be done with the camera and/or in the 'dark room'. The dark room today is, of course, replaced by computer editing. The camera that I mostly use is a digital 10 MP SLR type Pentax K10D. I also own another Pentax DSLR 6 MP ist DL. The lens that I use most of the time is a Tamron 18 to 250 mm zoom (equivalent in 35 mm camera terms to 28 - 375 mm). All lenses are protected with a UV or skylight filter. In good sunny weather I usually use a polarizing filter. It is a highly recommended filter, but it will cost you about 2 or 3 'F-stops' (or EV's - exposure values). Mostly I under-expose photos by 1/3 or 2/3's of an F-stop. It is when I down load the photos to the computer that I really will start to 'play' with the images. I will alter colour, saturation and lighting. The software that I mainly use is ACD's Pro Photo Manager and its integrated photo editor. Some features that I use a lot are lightening shadows & darkening highlights, changing colour balance, removing digital noise, etc. All these same features can also be used with scanned versions of older slides and negatives. When my wide angle lens is not wide enough I will use a program called 'Auto Stitch' to seamlessly put photos together. check this link: www.cs.ubc.ca/~mbrown/autostitch/autostitch.html I will soon give you a before & after version of the same picture - one unedited and straight from the camera, and the second edited to my satisfaction. That will be in a few days... Tonight I have uploaded some Spook pics all taken a few weeks ago to my photobucket site. Here are a few of them: 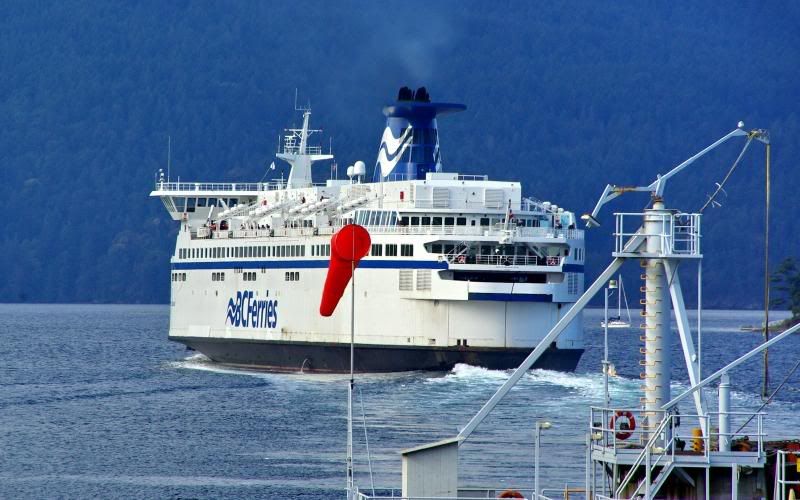 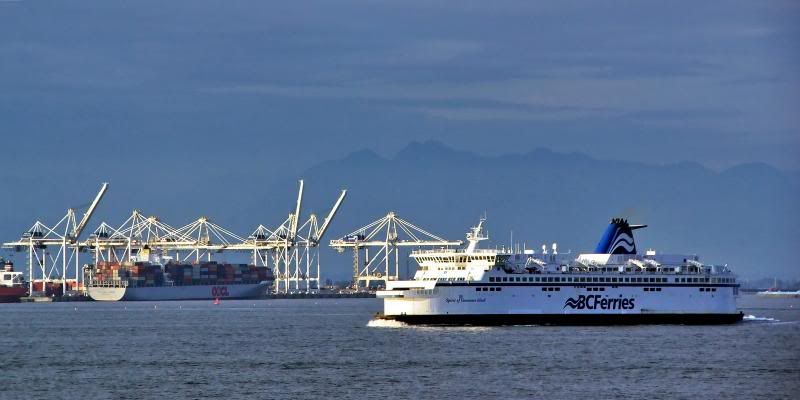 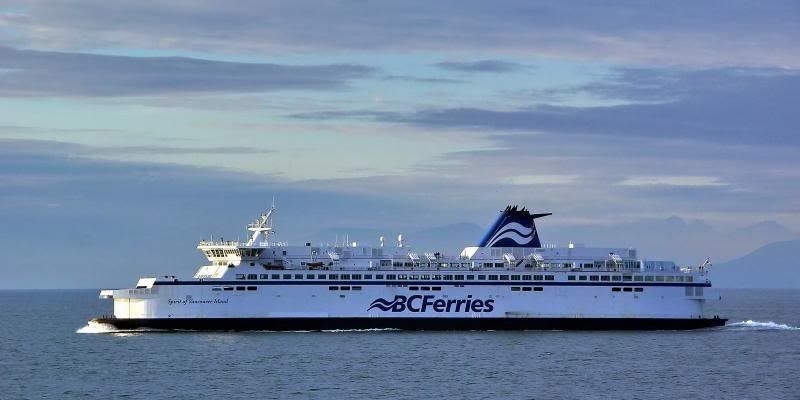 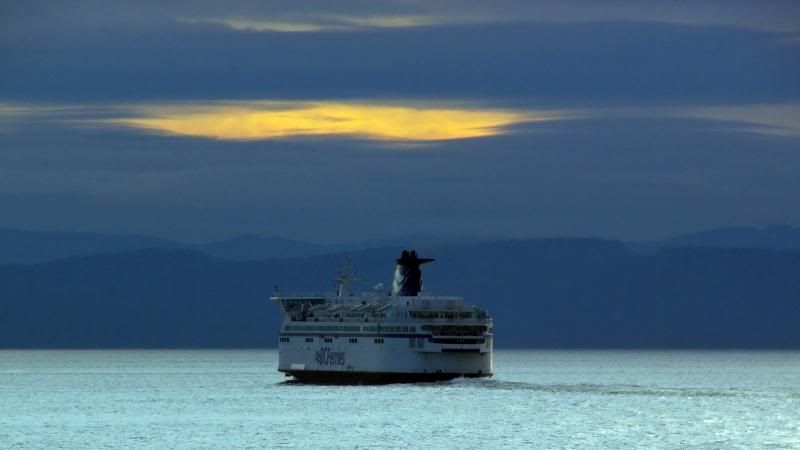 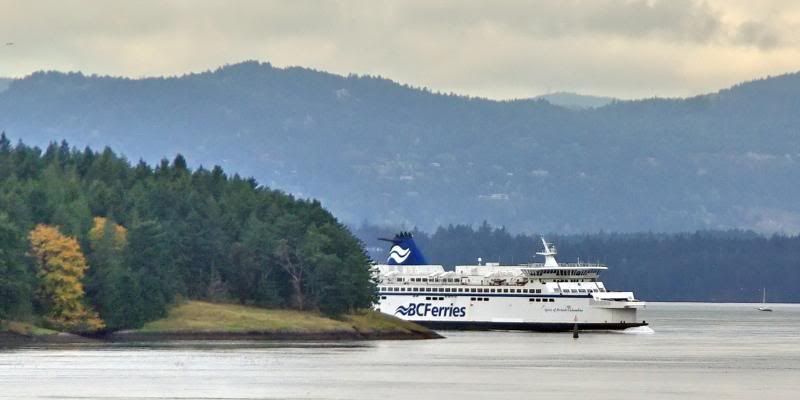 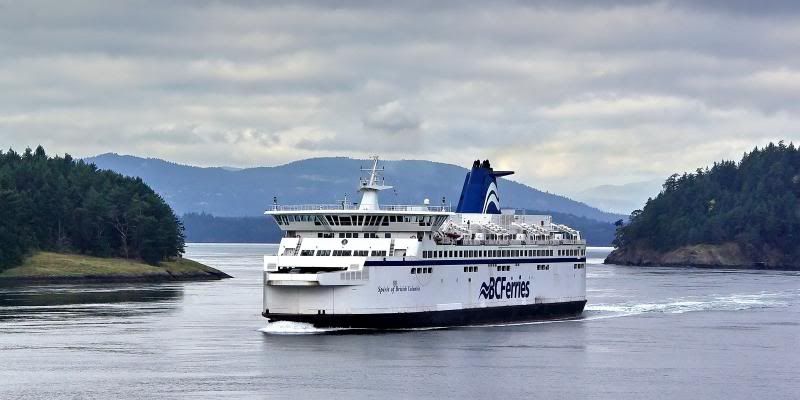 All photos © JST 2008 All photos © JST 2008For more, including descriptions of each picture, go here: s90.photobucket.com/albums/k268/wetcoastkidjst/Spirit%20Class/?albumview=slideshow |
|
D'Elete BC in NJ
Voyager
Dispensing gallons of useless information daily...
Posts: 1,671
|
Post by D'Elete BC in NJ on Nov 4, 2008 5:36:43 GMT -8
I've been playing with Windows Live Photo Gallery, and for quick and dirty panoramics, it is pretty functional...look under the 'Make' menu. Less control and functionality than the software WCK suggests, but simple to use. |
|
|
|
Post by Northern Exploration on Nov 4, 2008 7:23:36 GMT -8
First taking pictures in the RAW and the now Dirty Panoramics. I think this forum is sliding downward in my opinion.  |
|